
Aseptic technique for research peptides is a set of habits that keep microbes, particulates and cross-contamination out of your material while you work with it. You prepare a clean workspace, gather supplies first, use sterile single-use tools, never re-enter a vial with a used one, and keep the vial closed and cold when you are not using it. It protects your sample and your data. It does not make a peptide sterile, and it does not make a research compound suitable for people or animals.
This guide is written for laboratory researchers who buy lyophilized peptides for in vitro and bench work. Everything here concerns laboratory handling only.
TL;DR
- Aseptic technique protects your sample from contamination during handling. It is a practice, not a property of the peptide.
- Prepare the space first: disinfect surfaces with 70% ethanol, clear the bench, and gather every supply before you open a vial.
- Use fresh sterile tools for every entry. Reused needles and shared tools are a documented route for contamination.
- Keep lyophilized powder cold and dry, and treat reconstituted solutions as the most vulnerable form.
- Aseptic handling, a “sterile filtered” label and a passed sterility test are three different things. Do not treat one as evidence of the others.
Table of Contents
- What aseptic technique means at the bench
- Prepare the workspace before you open anything
- Personal protection and hygiene
- Opening and sampling a vial without contaminating it
- Storage: where aseptic handling and stability meet
- Aseptic handling is not sterility, purity or safety
- What aseptic technique cannot do
- Common mistakes worth fixing
- Our perspective
- Source your research peptides with documentation
- FAQ
- Sources
What aseptic technique means at the bench
In microbiology, aseptic technique covers the precautions taken to keep working material free of unwanted organisms. The same logic applies to a peptide vial. Every time you open it, pierce the stopper or pipette from it, you create a chance to introduce bacteria, fungi, dust or another compound.
The CDC describes the principle in a clinical setting: aseptic technique prevents contamination of clean areas, equipment and sterile medications during preparation. Your bench is not a pharmacy, but the goal is the same: whatever touches the material must not bring anything with it.
For peptide research the stakes are practical. A contaminated stock solution can give you drifting results, a ruined plate or a failed replicate, and you may not know the cause. Contamination is rarely the only threat. A 2016 consensus paper from the mass-spectrometry community notes that peptide solutions are inherently vulnerable to adsorption, hydrolysis and oxidation, and microbial growth compounds those problems. Good aseptic habits remove one variable from an already sensitive system.
Prepare the workspace before you open anything
Most contamination is decided before the vial is touched. A repeatable setup routine does more than any single clever step.
Clean surfaces and clear the bench
ATCC’s microbiology culture guide recommends disinfecting work surfaces with 70% ethanol or another suitable disinfectant before and after use, and keeping the work space uncluttered. A Johns Hopkins cell culture facility guide says the same: decontaminate the work surface before and after use with 70% ethanol, keep bottles and flasks covered as much as possible, and wear gloves and a lab coat.
In practice that means:
- Wipe the surface with 70% ethanol and let it contact the surface before you start.
- Remove everything that is not part of this task: notebooks, phones, spare glassware.
- Lay out only what the procedure needs, in the order you will use it.
Gather supplies first
ATCC also advises gathering all necessary supplies before beginning. Leaving a half-prepared vial to fetch a pipette tip is how stoppers get touched and gloves get contaminated. Before you start, check that you have:
- sterile, single-use pipette tips, syringes or transfer devices, still in their packaging
- the diluent you plan to use, with its own documentation and expiry
- labeled sterile tubes or low-binding vials for aliquots
- 70% ethanol wipes or spray for stoppers and gloves
- a waste container within reach
Use the right enclosure
Where a biosafety cabinet is available, work in it. ATCC advises working in a thoroughly sterilized cabinet, running the UV light for at least 15 minutes before and after use in combination with 70% ethanol, and never leaving UV on while someone is working. It also says to keep windows closed and avoid fans that circulate outside air. The Johns Hopkins guide adds a habit worth copying: switch the hood blower off after each use and turn on the UV lamp.
If you do not have a cabinet, choose the calmest, cleanest corner of the lab, away from doors and air handlers, and keep each open-vial interval as short as you can.
Personal protection and hygiene
Protective equipment serves two purposes: it keeps you safe from the chemical, and it keeps your skin and clothing away from the sample. CDC laboratory guidance calls for appropriate PPE, written safety protocols for chemical risks and risk assessments, and lists eating and drinking in the work area as potential exposure practices. Keep food and drink out of the lab entirely.
The Johns Hopkins facility guide requires washing hands before and after work and wearing gloves and a lab coat, and calls protective glasses advisable during particular work phases. A sensible routine:
- Wash hands, put on a clean lab coat, then put on gloves.
- Spray gloved hands with 70% ethanol after touching anything outside the clean zone.
- Change gloves if you touch your face, a phone, a door handle or the outside of a box.
- Wear eye protection when you are handling powders or liquid that could splash.
Training matters more than any single item on that list. USP, writing about sterile compounding, says that preventing contamination by ensuring personnel are trained and competent is more impactful than detecting it by sampling. The setting is different, but the lesson carries over: a lab that writes down its procedure and trains everyone on it gets better results than one that relies on checking afterward.
Opening and sampling a vial without contaminating it
This is where most errors happen. Keep the sequence deliberate and the same every time.
- Let the vial reach room temperature while still sealed, so condensation does not form on the cold powder.
- Disinfect the stopper with 70% ethanol and let it dry.
- Use a fresh sterile tool for every entry. Never put a used tip, needle or syringe back into a vial.
- Add diluent gently down the vial wall and swirl rather than shaking, which can foam and stress the peptide.
- Aliquot immediately into single-use volumes so the master stock is opened as few times as possible.
- Label every tube with the compound, lot number, concentration, date and your initials.
- Return stocks to cold storage promptly and log the time out.
The reason for rule three is documented in the CDC’s injection safety guidance. The agency treats a syringe or needle as contaminated once it has been used to enter or connect to an infusion bag or administration set. It also names reinserting used needles into multiple-dose vials as one of the primary breaches behind four large hepatitis B and C outbreaks. That guidance concerns patient care, not research, but the mechanism is universal: a used tool carries what it touched into the next container.
Preventing cross-contamination between compounds
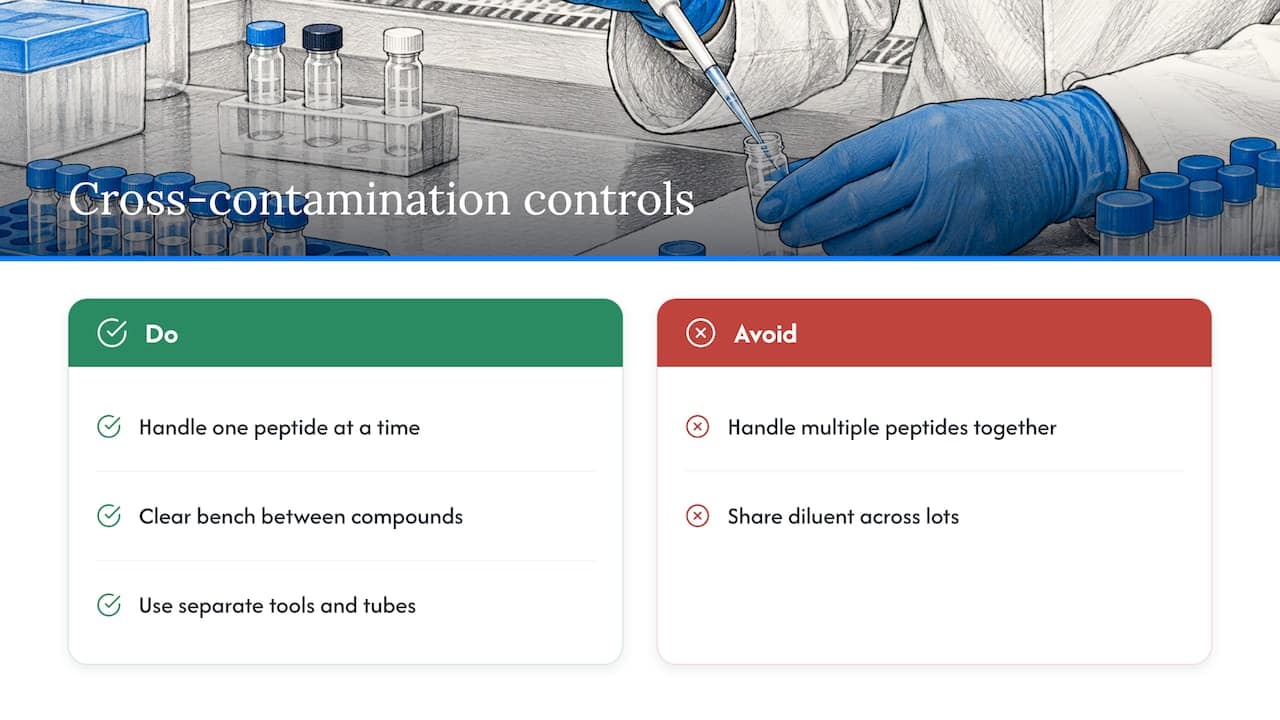
When you work with more than one peptide, handle one at a time. Clear the bench between compounds, use separate tools and tubes, and never share a diluent container across lots. A stray trace of one peptide in another stock is as damaging to a binding or cell assay as bacteria, and it is much harder to detect.
Storage: where aseptic handling and stability meet
Handling and storage are one system. A perfectly aseptic reconstitution is wasted if the aliquots then sit at the wrong temperature.
For the powder, the 2016 mass-spectrometry recommendations say purified peptide can be delivered as dry powder and stored at -20°C or below until needed. Moisture matters too. In a study on lyophilized tPA, samples dried below the calculated monolayer showed opalescence on reconstitution, while samples with more residual water lost more biological stability under temperature stress. That is one protein, so treat it as an illustration, not a rule for every peptide. The practical point is that dry and cold is the default for a lyophilized product, and every cycle of opening and warming works against it.
We cover this in more depth in our guides to keeping lyophilized peptides cold and dry and to storage temperature, chemical stability versus sterility. If you need to document how long a solution is usable, our piece on peptide shelf life and the 28 day rule explains why that figure is a sterility convention and not a chemistry measurement.
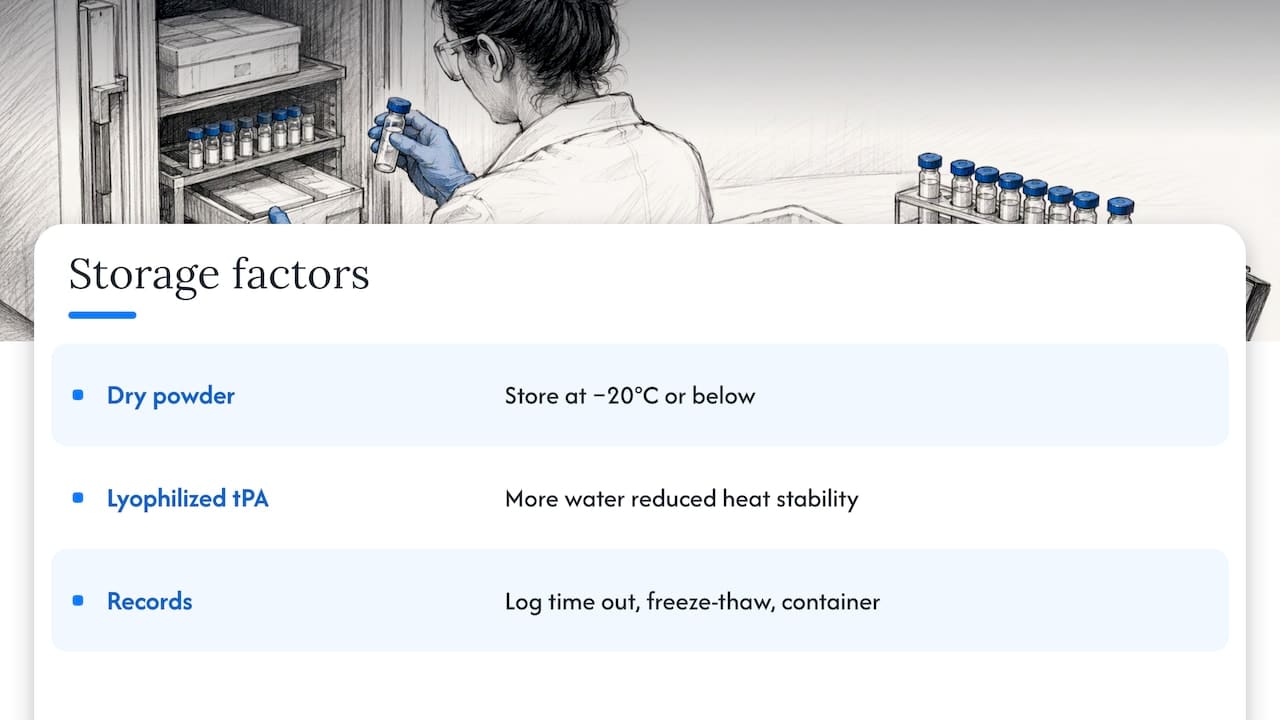
To keep your records audit-ready, it helps to define stability and storage conditions before an experiment starts. These sample stability guidelines are a good frame for deciding what to log, such as time out of storage, freeze-thaw cycles and container type.
A simple storage log
| What to record | Why it matters |
|---|---|
| Lot number and COA reference | Ties every result to a specific batch |
| Date received and date opened | Shows how long the powder has been in use |
| Storage temperature and location | Lets you trace excursions |
| Diluent and its lot | Rules out the solvent as a variable |
| Aliquot volume and count | Shows how many freeze-thaw cycles each tube has seen |
| Operator initials | Supports training and review |
Aseptic handling is not sterility, purity or safety
This is the distinction that gets lost most often. Aseptic technique is what you do. Sterility is a property of a product. Purity is a different property again.
The Compound Journal explains that in pharmaceutical manufacture a product is called sterile when it was made by a process shown during qualification to achieve a defined level of sterility assurance, when the environment and personnel were monitored during filling, and when the finished batch passed the compendial sterility test. Most of the confidence comes from the process, not the test. The same article states that research-grade material is not sold as sterile and is not approved for human use in any jurisdiction.
USP says much the same about the system view: sterility assurance rests on interrelated manufacturing and control measures and not on one finished-product test, and a passing sterility test cannot prove that no organism is present in every unit.
For your lab, that gives three working rules:
- Treat every vial as non-sterile material that your own aseptic technique has to protect, unless documentation for that specific lot says otherwise.
- Read label wording precisely. A statement that a product was filtered describes a process step. A statement that no growth was detected describes a test result. Neither alone shows a complete sterile system.
- Keep purity and sterility separate. A certificate of analysis speaks to identity and purity. It is not a sterility certificate.
Our purity and identity testing is a different question from your handling. We cover how to read documentation in three checks before a lot enters your assay, and our research peptides playbook walks through purity thresholds.
What aseptic technique cannot do
Good handling controls contamination at your bench. It does not change what a research compound is. These products are sold for laboratory research use only. They are not medicines, they are not approved for human or animal use, and no handling routine makes them suitable for either. If your work involves clinical questions, that belongs with qualified professionals, a regulated pharmacy and an approved protocol, not a research supply order.
It also cannot rescue a bad lot. If a vial arrives with a broken seal, visible particles, cloudiness after proper reconstitution or a mismatched label, stop and contact the supplier with the lot number rather than trying to work around it.
Common mistakes worth fixing
- Skipping the stopper wipe because the cap looked clean.
- Reusing a tip “just for the same vial.”
- Working over a cluttered bench with open packaging nearby.
- Leaving stocks out while the rest of the plate is prepared.
- Making large pooled stocks instead of small single-use aliquots.
- Unlabeled tubes, which turn into unusable tubes within a week.
- Treating a documentation gap as acceptable because the vial looks fine.
Our perspective
We built our process around one idea: a researcher should be able to trust what is in the vial and be able to prove it to a reviewer. Every lot we sell is third-party batch tested for purity and identity, and each comes with a Certificate of Analysis and endotoxin data, so your records start from documented material.
We are also direct about what documentation means. Our peptides are research-grade materials for laboratory use only, and clean handling is part of your protocol. Good aseptic technique, cold dry storage and a written log turn a good lot into reproducible results.
That is why we publish handling and storage guides alongside our catalog, and why our support team is available around the clock when a question comes up mid-experiment. Fast, discreet shipping from our U.S. facility means the material reaches your bench quickly and ready to be stored properly.
Data Peptides
Source your research peptides with documentation
If you are setting up a protocol and need lots with batch-level testing and a COA on file, you can browse our research peptide catalog by category, including weight loss, muscle growth, recovery, anti-aging, libido and ancillary supplies. Every product is sold for laboratory research use only.
FAQ
What is the best aseptic technique for handling peptides?
There is no single trick. The best technique is a consistent routine: disinfect the workspace with 70% ethanol, gather supplies first, wear gloves and a lab coat, wipe the stopper, use a fresh sterile tool for every entry, and aliquot into single-use volumes. Writing the routine down and training everyone on it matters more than any one step.
Does aseptic technique make a research peptide sterile?
No. Aseptic technique prevents you from adding contamination while you work. Sterility is a property established by a validated manufacturing process and testing, and research-grade material is not sold as sterile. Handle every vial as non-sterile material that your technique has to protect.
Do I need a biosafety cabinet to reconstitute peptides in the lab?
A cabinet is the better choice when you have one, because it gives you a controlled airflow and a surface that can be disinfected with ethanol and UV. If you do not, work in a clean, low-traffic area, keep open-vial time short and use sterile single-use tools. Follow your institution’s biosafety rules, which may require a cabinet for some work.
How should I store peptides to reduce contamination and degradation?
Keep lyophilized powder dry and cold, with -20°C or below a common recommendation in the literature, and open the master vial as rarely as possible. Aliquot solutions into single-use volumes so no tube is repeatedly entered or thawed. Log lot, dates and storage conditions for each.
Sources
- Preventing Infections in Cancer Patients, CDC
- Introduction to Microbiology, ATCC
- Guidelines for Safe Work Practices in Human and Animal Medical Diagnostic Laboratories, CDC MMWR
- USP <797> FAQs
- Safe Injection Practices to Prevent Transmission of Infections, CDC
- Recommendations for the generation, quantification, storage and handling of peptides, 2016
- Determining the optimum residual moisture in lyophilized protein pharmaceuticals
- Two documents, two disciplines: purity and sterility are not the same trade, Compound Journal
- Sterility Testing for Research Peptides: USP <71>
- Sample stability guidelines